Funnels & Websites

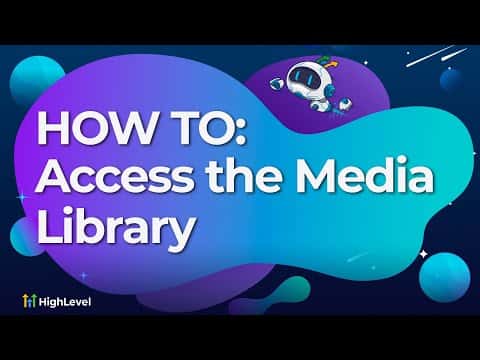
How to Access the Media Library in GoHighLevel

GoHighLevel's media library is a central place to store images, videos, audio files, and documents used across your funnels, websites, and email templates. You reach it through Settings inside any sub-account. From there you can upload files, organize them into folders, copy URLs to clipboard, or delete files you no longer need.

Actualizado el 2 de junio de 2026

3:04

Resumen. The GoHighLevel media library lives under Settings and stores all media assets for a given sub-account. Files uploaded here are available when adding image, video, or audio elements to funnels, websites, or email templates. The library supports folders for organization and shows file type restrictions and upload size limits so you know what the platform accepts before uploading.

Pasos

  1. Open the media library

    Inside your sub-account, go to Settings, click Media, and then click Open Media Library.

  2. Upload or organize files

    Click the upload button to add a new file, or create a folder first if you want to keep assets grouped by project or type.

  3. Use files in your pages

    When you add an image or video element in the funnel or website builder, it prompts you to choose from the media library. Files you have already uploaded appear here for selection.

Preguntas frecuentes

What is the maximum file size for media library uploads?

Videos up to 4 GB, documents up to 100 MB, audio up to 100 MB, and images up to 100 MB.

Which image formats does the media library accept?

PNG, JPEG, WebP, SVG, ICO, GIF, and TIFF are all accepted.

Can I access the media library from the social planner?

Yes. Adding an image inside the social planner opens the same media library interface.

Constrúyelo con gente que ya lo hizo.

Únete a la comunidad gratis: llamadas en vivo cada semana, un curso para empezar y gente que construye en tu idioma.

Únete gratis en Skool