 5:41
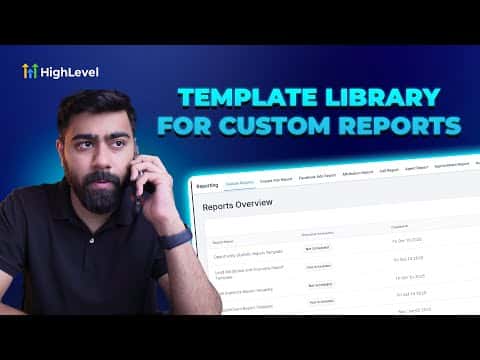
5:41Resumen. This tutorial shows how to upload a custom GoHighLevel report as a template, covering permission settings, cover image requirements, category tags, and descriptions needed for the template library. It also demonstrates how to create a dashboard template and how clients or other sub-accounts can find and install those templates later.
Pasos
Build and configure your custom report
Create the report under Reporting, Custom Reports. Set it up with any branding, metrics, and graphs you want reused. Before uploading, open Manage Permissions and make sure the report is not set to Private. Assign at least View access to agency users or account admins.
Upload as a template
Back on the custom reports list, click Upload Report Template. Give it a name, choose a category from the available options, and click Save. GoHighLevel will prompt for additional details.
Add a cover image and description
Upload a branded cover image and a preview thumbnail. Write a short description (one to two sentences) and a longer description with bullet points covering what data the report includes. Add prerequisite notes if the report requires a pipeline or custom field to be set up first.
Publish the template
Select relevant tags (contacts, appointments, lead sources, etc.), mark it as featured if you want it highlighted, and click Save, then Publish, then Confirm. The template is now available in the library.