 3:15
3:15概要. This tutorial covers installing the GoHighLevel chat widget on a WordPress site using the Lead Connector plugin. It walks through customizing the widget's welcome text, avatar, return visitor greeting, and agency branding inside GoHighLevel, then connects the plugin to the sub-account via the API key so the widget appears automatically on the WordPress site.
学べること
- Customize the chat widget appearance before installing it on WordPress
- Find the sub-account API key in GoHighLevel Settings
- Install and activate the Lead Connector WordPress plugin
- Connect the plugin with the API key to activate the widget
- Confirm incoming messages appear in the GoHighLevel Conversations tab
ステップ
Configure the widget in GoHighLevel
Open your sub-account, go to Sites, then Chat Widget. Set the welcome text that appears in the bottom right corner of your site, upload a profile picture, and toggle Return Visitors if you want repeat users greeted by name. Under Widget Window, fill in your chat header and call-to-action text. Add agency branding at the bottom if you want your company name shown instead of GoHighLevel.
Set the acknowledgement and thank-you text
Scroll to the acknowledgement section and write the message a visitor sees after clicking Send. This is your confirmation that their message was received. Save the widget settings before moving to WordPress.
Install the Lead Connector plugin on WordPress
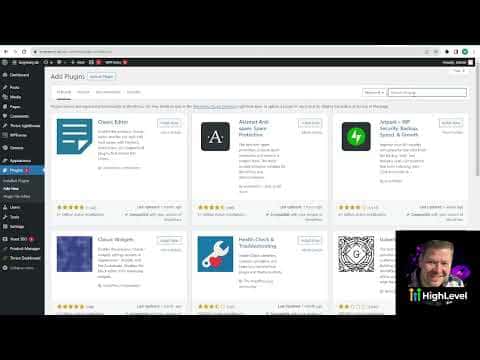
Log into WordPress, go to Plugins, then Add New. Search for Lead Connector. Install the first result and click Activate. The plugin icon appears in the left sidebar immediately.
Connect the plugin with your API key
In GoHighLevel, go to Settings inside your sub-account and find the API key in the Business Profile section. Copy it. Back in WordPress, open the Lead Connector plugin and paste the key into the API key field, then click Save.
Confirm the widget is live
Open your WordPress site in a browser or incognito window. The chat widget should appear in the bottom right corner, matching the settings you configured. Send a test message and verify it arrives in the Conversations tab of your sub-account.
ヒント
- The Lead Connector plugin auto-pulls your widget settings from GoHighLevel, so any future changes you make in the sub-account update the live widget without touching WordPress again.
- If you use a page builder with a custom header, make sure the plugin is activated at the site level, not just on one page.