 5:57
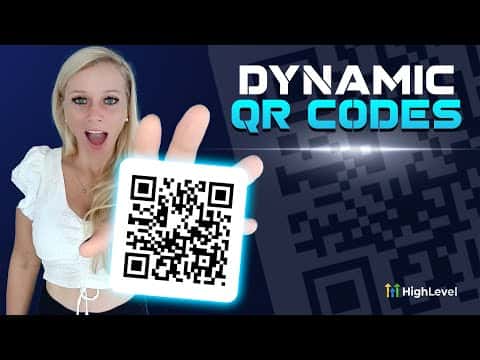
5:57概要. This tutorial walks through creating and customizing QR codes inside GoHighLevel, covering how to set the destination URL, change dot and marker colors, adjust shape styles, add a logo from the media library, and download the finished code. It also shows how to edit the destination URL later without reprinting and how to view per-code analytics.
ステップ
Open the QR code generator
In your sub-account, click Sites on the left, then select QR Codes from the top tabs. Click Create New to start a new code.
Name the code and set a destination
Give the QR code a name that identifies its campaign or purpose. Enter the URL you want visitors to land on after scanning, or select Review Link to pull in your connected Google or Facebook review URL automatically.
Customize colors and shapes
Adjust the background color, dot color, marker border color, and marker center color to match your brand. Below the color options, choose a dot shape (square, rounded, or pixelated) and a marker border style. Changes preview live on screen.
Add a logo
Click Upload to add a logo from your media library. GoHighLevel also provides preset icons for common platforms like WhatsApp. Toggle Remove Background Behind Logo to control whether there is a white square behind the logo.
Save and download
Click Save to store the QR code in your account. Use the download option to export the image for print or digital use. The destination URL stays editable after saving, so you can update the link without creating a new code.