 5:53
5:53Resumen. GoHighLevel includes a built-in proposal and estimate builder under Payments that removes the need for third-party document tools. This walkthrough covers creating a reusable template with a logo, contract body, product list, and electronic signature consent block. It also shows how to configure multiple signature slots so a business owner and one or more client contacts can each sign, and how to add recipients when the template is put into actual use.
Lo que aprenderás
- Navigate to Payments and open the Estimates and Proposals template builder
- Add a logo image and paste in contract copy
- Insert an itemized product list block
- Add an electronic signature acknowledgement block
- Set up multiple signature fields with distinct signer labels
- Assign yourself as a signer on the business signature slot and leave client slots open for recipients
Pasos
Open the template builder
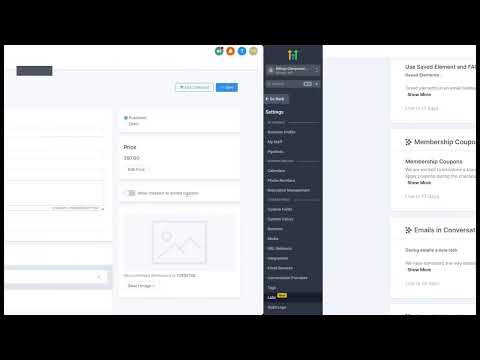
Inside your sub-account, go to Payments in the left menu. Select Estimates and Proposals, then click Templates. Hit the New button to open a blank template.
Name and save the template
Give the template a clear name right away, such as 'Master Service Agreement', so you can find it later. The name is internal only.
Add your logo
Click the image block at the top of the editor and upload your logo file. Resize it to roughly 100 to 125 pixels wide and adjust the background color if needed to match your branding.
Paste in your contract text
Add a text block and paste your prepared contract copy. Apply paragraph formatting so line spacing looks consistent. Use custom value tokens where you want client details to auto-fill, such as contact name or business name.
Add the product list block
Insert a Product List element below the contract body. This creates an itemized section that shows line items, quantities, and totals when the template is used for a real estimate.
Insert the signature acknowledgement block
Add a text block just above the signature fields and paste your electronic signature acknowledgement and consent language. This confirms the signers understand they are binding themselves electronically.
Configure signature fields
Add a Signature element for the client slot and leave the signer field blank so it can be filled when you create an estimate from the template. Add a second Signature element for your company, label it with your company name, and select yourself as the assigned signer so your slot is pre-populated.
Add additional signer slots if needed
If a client needs multiple people to sign, insert additional Signature elements and label each one clearly. Leave those slots blank so the appropriate contacts can be added when you send the estimate.
Consejos
- Have a lawyer review your contract text before you use it with real clients.
- Custom value tokens fill in client details automatically, reducing manual edits per estimate.
- Leaving your company signature pre-assigned means you only need to add the client recipients each time you use the template.