 5:58
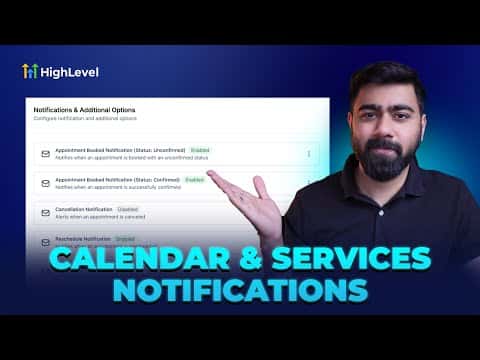
5:58Resumen. This tutorial walks through configuring appointment notifications inside a GoHighLevel calendar so clients receive automatic confirmations and reminders without any manual follow-up. It covers all four delivery channels, how to choose recipients, how to edit message text with custom values, and how to set reminder timing relative to the appointment. The calendar's notification panel shows at a glance which events are active.
Pasos
Open calendar notifications
Go to Calendars, find the calendar to update, click Edit, then scroll to Notifications and Additional Options.
Choose an appointment event
Click one of the listed events: Booked (unconfirmed), Confirmed, Cancellation, Reschedule, Reminder, or Follow-up.
Enable a channel
Toggle on Email, In-App, SMS, or WhatsApp for that event. Each channel can be enabled independently.
Select recipients
Choose whether the notification goes to the contact, the assigned user, both, or additional email addresses or phone numbers.
Set timing for reminders
For reminder events, set how far in advance the message goes out, for example one hour or one day before the appointment.
Customize the message (optional)
The default templates work for most situations. If you need to personalize, edit the text directly or insert custom value tokens.
Save and verify
Click Save. Active channels show a green indicator on the event row so you can confirm everything is on at a glance.
Consejos
- Enable at least email and SMS for reminders. Both together reduce no-shows more than either alone.
- WhatsApp notifications require an approved message template connected to a WhatsApp Business account.
- The green and gray indicators in the notification panel make it easy to audit all events quickly.