 1:04
1:04सारांश. Storing documents against a contact in GoHighLevel requires one setup step: creating a custom field with the file upload type in Settings. Once that field exists, a file attachment area appears in the Additional Info tab on every contact record. You can upload images, PDFs, or any file type you allow, set a cap on the number of files per contact, and retrieve them again by clicking directly from the contact view.
आप क्या सीखेंगे
- Create a file upload custom field in GoHighLevel Settings
- Control which file types and how many files can be attached per contact
- Upload files manually to any contact's Additional Info tab
- Retrieve and view attached files from within a contact record
- Use file attachments to store contracts, photos, or reference documents per client
स्टेप
Go to Settings and Open Custom Fields
Inside your sub-account, navigate to Settings and then click Custom Fields.
Add a New Custom Field
Click Add a Custom Field. From the field type list, choose File Upload.
Name the Field and Set File Rules
Give the field a name and a placeholder label. Choose the specific file types you want to accept, or select Any to allow all types. Set a file count limit that makes sense for your workflow.
Save the Custom Field
Click Save. The field is now active on all contact records in this sub-account.
Open a Contact and Go to Additional Info
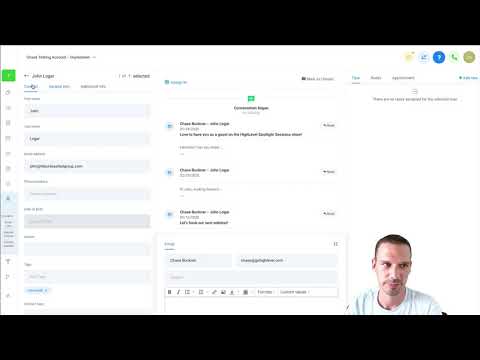
Navigate to any contact record and click the Additional Info tab. You will see your new file field with a plus button.
Attach a File
Click the plus button, select the file from your device, then click Save to store it against the contact.
View the File Later
Return to the contact's Additional Info tab any time and click the file name or thumbnail to open it.
टिप्स
- Setting a file type restriction (for example, PDF only) keeps the field tidy and prevents accidental uploads.
- Use a descriptive field name like 'Signed Contract' so team members know exactly what to upload.