 4:07
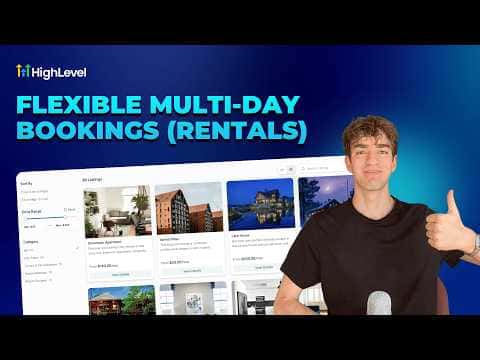
4:07सारांश. This walkthrough explains how to activate and configure the GoHighLevel rental calendar, which is built for businesses that book out assets rather than appointments. It covers enabling the feature from agency settings, creating and naming listings with pricing intervals, adding categories to keep inventory organized, and setting advanced options like seasonal pricing, duration discounts, buffer times, and external calendar sync to block unavailable windows.
स्टेप
Enable Rentals in agency settings
Switch to agency view, go to Subaccounts, click the three dots next to the target account, select Manage Client, then open Calendar Settings and toggle Rentals on.
Create a category
Inside Calendars, go to Calendar Settings and click Rentals. Add a category first so listings stay organized. Think of categories as folders (for example, Jet Skis or Vehicles).
Add a listing
Click New Listing, upload an image, give the listing a name, set the base price, choose the billing interval (hour, day, week, or month), assign it to a category, and set the URL and status before saving.
Configure inventory and pricing
Open the saved listing and go to Inventory and Pricing. Enable stock tracking, add variants if needed, and scroll down to set advanced rules like seasonal price adjustments or duration discounts.
Set booking rules
Under Booking Settings, configure availability hours, minimum booking duration, buffer time between rentals, and advance scheduling notice.
Sync an external calendar
Go to Calendar Sync to import bookings from Google Calendar or iCal. Any imported events block those dates so double bookings cannot occur.