 7:30
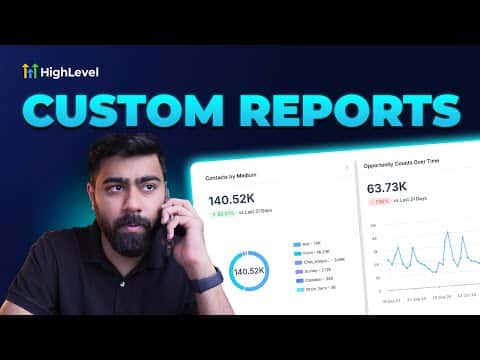
7:30Resumen. This tutorial covers creating a custom scheduled report in GoHighLevel by cloning an existing dashboard, customizing the widgets, and setting up automatic email delivery. Clients receive the report in their inbox on a regular cadence without anyone manually pulling data or sending updates. The process works for appointment tracking, lead counts, revenue, and any other metric visible in a GoHighLevel dashboard.
Lo que aprenderás
- Find the Custom Reports section under Reporting in your sub-account
- Import an existing dashboard so you do not have to rebuild from scratch
- Add or remove widgets and elements just like building a regular dashboard
- Set up a weekly or monthly email delivery schedule for automatic distribution
- Customize the cover page with your logo and report title
Pasos
Open Custom Reports
In your GoHighLevel sub-account, go to Reporting in the left menu. Click on Custom Reports. This section is separate from the main Dashboard area.
Create a new report
Click 'New Report'. You have three options: a blank report, a template from the library, or cloning an existing dashboard. Choose to clone your existing dashboard if you already have one built with the metrics you want.
Import the dashboard
Select your dashboard from the list and click Import. The system copies all your widgets into the new report, preserving the layout so you start with a complete data set.
Customize the report
Use the widget panel on the left to add new data blocks, or remove ones that are not relevant to the client. You can also add text boxes, images, and embedded links using the Elements section.
Edit the cover page
Click the cover page in the Page List on the left. Open Page Properties and upload your logo via URL. Toggle the cover page off entirely if you prefer to skip it and go straight to the data.
Set up the delivery schedule
Find the Schedule or Send settings in the report builder. Set the frequency to weekly or monthly, add the recipient email addresses, and save. The report will send automatically at the configured interval.
Consejos
- Cloning an existing dashboard saves significant setup time compared to building from scratch.
- Remove the cover page if your clients prefer a clean, data-first email with no extra slides.
- A well-structured report reduces 'how are things going?' check-in calls because clients can see the numbers themselves.