 1:54
1:54Resumen. GoHighLevel can connect directly to your Zoom account and generate a fresh meeting link for every booking. Once the integration is active, you choose Zoom as the meeting location in your user availability settings or inside individual calendar settings. From that point forward, every confirmed appointment automatically receives a unique Zoom URL, which also appears in confirmation pages, calendar views, and any confirmation tab custom values you have configured.
Lo que aprenderás
- Connect your Zoom account through the Integrations section of your profile tab
- Apply dynamic Zoom links to all calendars at once or to individual calendars
- Confirm that each booked appointment receives its own unique meeting URL
- Use the appointment meeting location custom value to push the Zoom link into email and calendar confirmations
Pasos
Open your profile integrations
Go to your profile tab and scroll to the bottom. Under the Integrations section, find the Zoom option and click Connect. Accept the permissions prompt, and your Zoom account email will appear once the connection is confirmed.
Set Zoom as your default meeting location
Scroll back up to the User Availability section. Change the Meeting Location dropdown to Zoom, then click Update Availability. You will be asked whether to apply this change to all calendars you belong to. Click OK to update all at once, or Cancel to handle calendars individually.
Update an individual calendar
Open Calendar Settings and click Edit on the calendar you want to update. Find your name in the team list and select Zoom from the location options beside it. The meeting location field will gray out, showing that it will populate dynamically. Save your changes.
Test with a real booking
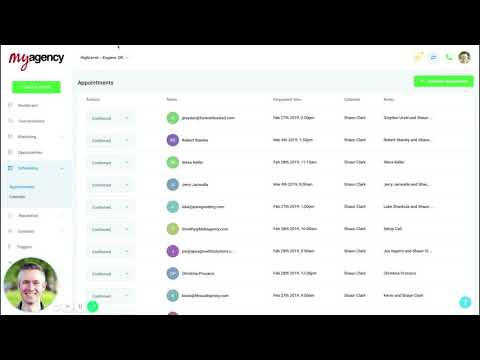
Open your calendar booking link and make a test appointment. Check the confirmation page for a live Zoom URL. Then open the appointment in the Scheduling view to confirm the same Zoom link appears in the meeting location field.
Add the link to confirmation messages
In your calendar's Confirmation tab, add the custom value for Appointment Meeting Location. This pushes the dynamic Zoom URL into confirmation emails, SMS messages, and Google Calendar invites automatically.
Consejos
- If you manage multiple calendars, using the Update Availability prompt to apply Zoom to all at once saves significant setup time.
- The meeting location field graying out in calendar settings is expected behavior, not an error. It confirms the link will be generated dynamically.