 2:03
2:03Resumo. Connecting Stripe to a GoHighLevel sub-account takes under two minutes and can be done from two places inside the platform. The Launchpad on the main dashboard shows a Stripe connect tile for new accounts, and the Settings, Integrations page exposes the same option for anyone who bypassed the Launchpad. After logging into Stripe through the pop-up window, the integration is active and ready for funnels, order forms, invoices, and products.
O que você vai aprender
- Connect Stripe from the GoHighLevel Launchpad
- Connect Stripe from Settings and Integrations as an alternative path
- Understand that both methods use the same Stripe OAuth login flow
Passos
Connect via the Launchpad
After logging into your GoHighLevel sub-account, look for the Launchpad on the main dashboard. Find the Stripe tile and click Connect. A new window opens where you log into your Stripe account and authorize the connection.
Connect via Settings and Integrations
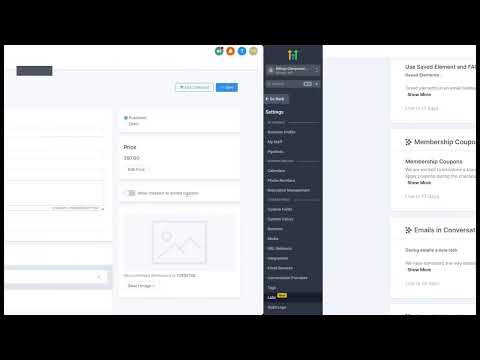
Go to Settings in the left menu, then select Integrations. Scroll to the Stripe section and click the Connect with Stripe button. This opens the same Stripe login window as the Launchpad method.
Complete the Stripe authorization
Log into Stripe with your email and password in the pop-up window. Follow any additional prompts Stripe shows, such as two-factor verification, and then confirm the connection. GoHighLevel will confirm the integration is active.