 7:38
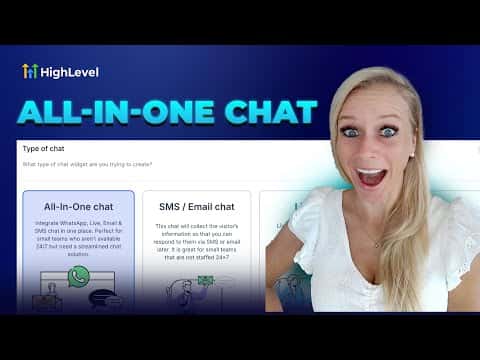
7:38Resumo. The all-in-one chat widget in GoHighLevel combines multiple contact channels into one configurable widget. You choose which channels to enable, set welcome messages and colors, control where the widget appears on the page, and decide what contact details visitors must provide before chatting. Once configured, you embed the widget on any GoHighLevel page or paste the embed code into an external site.
Passos
Create a new chat widget
Go to Sites on the left, click Chat Widgets at the top, then click the plus icon to add a new widget. Select All-In-One Chat from the options shown.
Enable and arrange communication channels
Toggle on or off the channels you want to offer: live chat, email, SMS, and WhatsApp. The preview on the right updates in real time to show exactly what visitors will see.
Customize the widget appearance
Edit the initial greeting message, choose a color theme or enter your brand colors, set the widget position (such as bottom right), and optionally replace the default avatar image.
Configure the contact form
Under the contact form settings, choose which data points visitors must fill in before starting a chat, for example name, phone, or email. Add a message field if you want to know the visitor's question upfront.
Embed on your site
For GoHighLevel funnels and websites, add the chat widget directly through the element panel. For WordPress or other external sites, copy the embed code and paste it into your site's body or footer script area.