 5:08
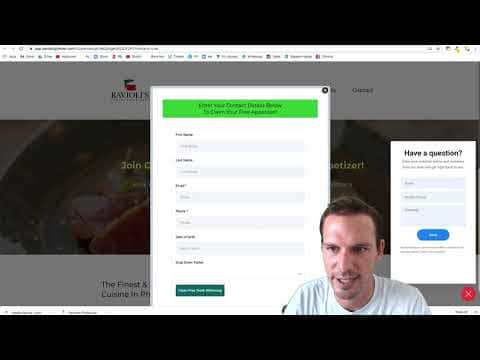
5:08概要. This tutorial shows how to add the GoHighLevel chat widget to a funnel page or an entire funnel, and how to build a workflow that fires when a visitor initiates a conversation through it. The widget creates an SMS thread in the Conversations tab, and the trigger setup lets you notify your team or send an auto-reply without any manual monitoring.
学べること
- Understand that the chat widget starts an SMS conversation, not a live browser chat session
- Grab the widget script from GoHighLevel help docs and customize the heading text
- Find your sub-account location ID from the URL bar and insert it into the script
- Install the widget on a single funnel page or across an entire funnel at once
- Build a workflow trigger that fires specifically when a chat widget message arrives
ステップ
Get the widget script
Inside your GoHighLevel agency account, click Help and search for 'chat widget'. Open the doc and copy the example script provided.
Find your location ID
Navigate into the sub-account where you want the widget. Look at the URL, find the segment after 'location/', and copy that string. This is your location ID.
Edit the script
In the script, find the 'locationId' placeholder and replace it with the ID you just copied. You can also edit the 'heading' field inside the script to change the text shown on the widget popup.
Add to a single page
Open the funnel page editor, go to Settings, then Tracking Code, and select the Footer tab. Paste the script there and save. Preview the page to confirm the widget appears.
Add to an entire funnel
Go to the top-level funnel Settings rather than a page's settings. Paste the script into the Body tracking code field. This places the widget on every page in the funnel.
Build the workflow trigger
Go to Automations and open or create a workflow. Add a 'Customer Replied' trigger. Add a filter, select 'Reply Channel', and set it to 'Chat Widget'. Add any notification or auto-reply actions you want to fire when someone initiates a conversation.
ヒント
- The script must go in the footer, not the header. Placing it in the header prevents the widget from rendering.
- Change the widget heading text directly inside the script tag rather than through a separate settings panel.
- Use the workflow notification action to SMS or email a team member so no chat widget conversation goes unanswered.