 7:49
7:49概要. This walkthrough shows how to create a subscription payment page from a blank website inside GoHighLevel. It covers building a two-column layout with benefit bullets and a price display on the left, adding a two-step order form on the right, creating a recurring subscription product under Payments, and attaching that product to the order form so the page collects payments automatically.
学べること
- Create a new website and blank page inside GoHighLevel Sites
- Build a two-column layout with benefit text, icon bullets, and a price display
- Add and configure a two-step order form element
- Create a recurring subscription product under Payments
- Attach the product to the order form and verify the checkout preview
- Enable optional features like coupon codes, order bumps, and terms acceptance
ステップ
Create the website and page
Go to Sites, then Websites. Click New Website and give it a name. Once created, add a new page inside it and start from a blank template.
Set up the two-column layout
Add a full-width section, then insert a row set to two columns. The left column will hold your offer description and the right column will hold the order form.
Build the left column
Add a headline element for the main offer title. Below it, add sub-headline elements with icon bullets to list what buyers get. Duplicate a bullet element to create additional items quickly. Add a price display near the bottom showing a crossed-out original price in red and the actual price in green to create contrast.
Add the two-step order form
In the right column, add a Two-Step Order Form element. In the first step settings, label the fields clearly and enable the fields you need such as full name, email, and phone. Disable fields you do not need like company name. Enable terms and conditions if you want buyers to agree before paying.
Create the subscription product
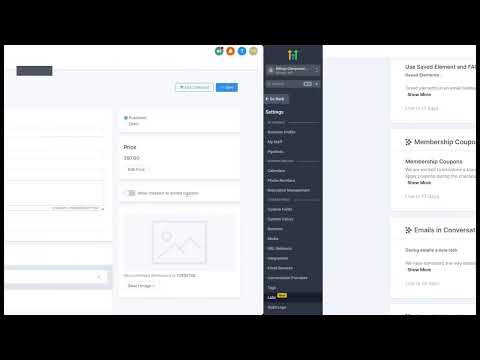
Go to Payments, then Products, and click New. Name the product, set the pricing type to recurring, choose the billing interval (monthly, yearly, etc.) and enter the amount. Save the product.
Attach the product to the order form
Return to the page editor and open the order form settings. Go to the Products tab and add the subscription product you just created. Confirm the price and billing interval look correct in the preview.
Preview and publish
Use the page preview to walk through the checkout as a buyer would see it. Confirm step one captures personal details and step two shows the billing form and your product price. Save and publish the page.
ヒント
- Crossing out a higher price next to the real price visually reinforces value. Use red for the old price and green for the current one.
- Adding padding to bullet elements before duplicating them saves time. Each copy will already have the right spacing.
- Enable the coupon field in order form settings if you plan to run promotions. It adds a code entry box without requiring a redesign later.