 4:33
4:33概要. This tutorial covers creating a service calendar in GoHighLevel for businesses that offer several different appointment types, such as a salon managing cuts, coloring, and styling at different durations and with different staff. It walks through calendar creation, adding team members with priority levels, setting meeting location options, defining individual staff availability, configuring booking rules, and optionally enabling paid bookings.
ステップ
Create the calendar
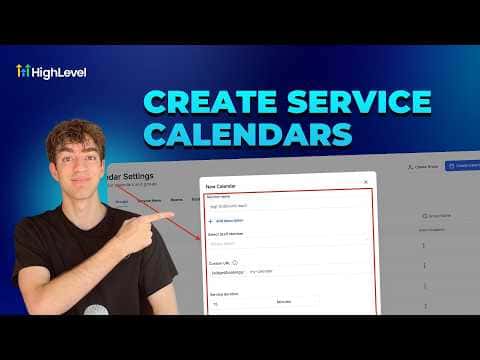
Go to Calendars, click Calendar Settings, then New Calendar. Click Explore More Types and select Service Booking.
Name it and add staff
Enter a calendar name, click the team member profiles you want to include, and set the service duration in minutes or hours.
Set a custom URL and confirm
Adjust the booking URL slug if needed, then click Confirm to save the base calendar.
Configure staff priorities
Open Advanced Settings and go to Staff and Location. Add any additional team members and set each person's priority to High, Medium, or Low to control how bookings are distributed.
Set meeting location
Choose from Zoom, Google Meet, phone, physical address, or Microsoft Teams. The selected location auto-populates in all outgoing notifications.
Adjust individual availability
Go to Availability, select a team member, click Edit, and set their specific working hours. Save before moving on.
Configure booking rules
Under Booking Rules, set the service interval, minimum scheduling notice, date range, and post-buffer time. Toggle on Busy Look if you want slots to appear in high demand.
Add forms and payments
Under Advanced Settings, attach an intake form. Under Payments, toggle on Accept Payments once a payment provider is connected.